
BushCrafting and Spoon carving have a deep history together. Carving wooden utensils and bowls is a classic bushcraft project. Below is a step-by-step pictorial that will help you get through your first Spoon Carving project. Below the photos is a video that will help as well.
Let me know if you have any questions at all! Cheers, Creek
-

- Step # 1: Split a 3″ diameter branch in half. Seasoned wood is preferred.

-

- Step # 2: Trace the outline of the spoon shape you want.

-

- Step # 3: Rough cut the spoon with a sharp axe.

-

- Step # 4: Always chop down the handle, never toward the spoon.

-

- Step # 5: A nice sharp axe will do most of the work for you.

-

- Step # 6: Back view after rough cutting with axe.

-

- Step # 7: Using a knife, start to shape the bottom of the spoon bowl and around the handle.

-

- Step # 8: Once you complete the shape of the spoon, use a Spoon Hook Knife to carve out the spoon bowl.

-

- Step # 9: Carefully carve out the bowl to your desired depth.

-

- Step # 10: Gently sand the spoon with sand paper.

-

- Step # 11: Oil the spoon with Linseed Oil or Mineral Oil every few months.

-

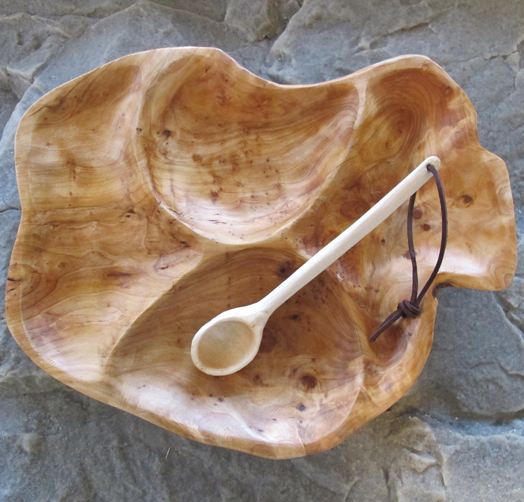
- Step # 12: USE YOUR SPOON – or give it as a gift!

A Mora Spoon Knife can be found in our BushCraft Knife Store if you are interested.


No Comments